Kategoriarkiv: 5SD022

Tale – Big Game Project

Hello! For the last three weeks I have been working on a Third person action adventure game called Tale for the course Big Game Project. This is the first time im working with Unity 5 3D and it has been a challenge! I have had to learn some new math and a lot of Unity’s 3d syntax.

During these three weeks  I have been working on a couple of features:

  • The character controller – Movement
  • Bow Aiming and Shooting
  • The Camera

The hardest task I had was the Camera. The camera of the game has to show all of the action on screen without annoying or disturbing the player at all, if the camera is good the player wont notice it. The camera we had decided on for Tale feature three major behaviors:

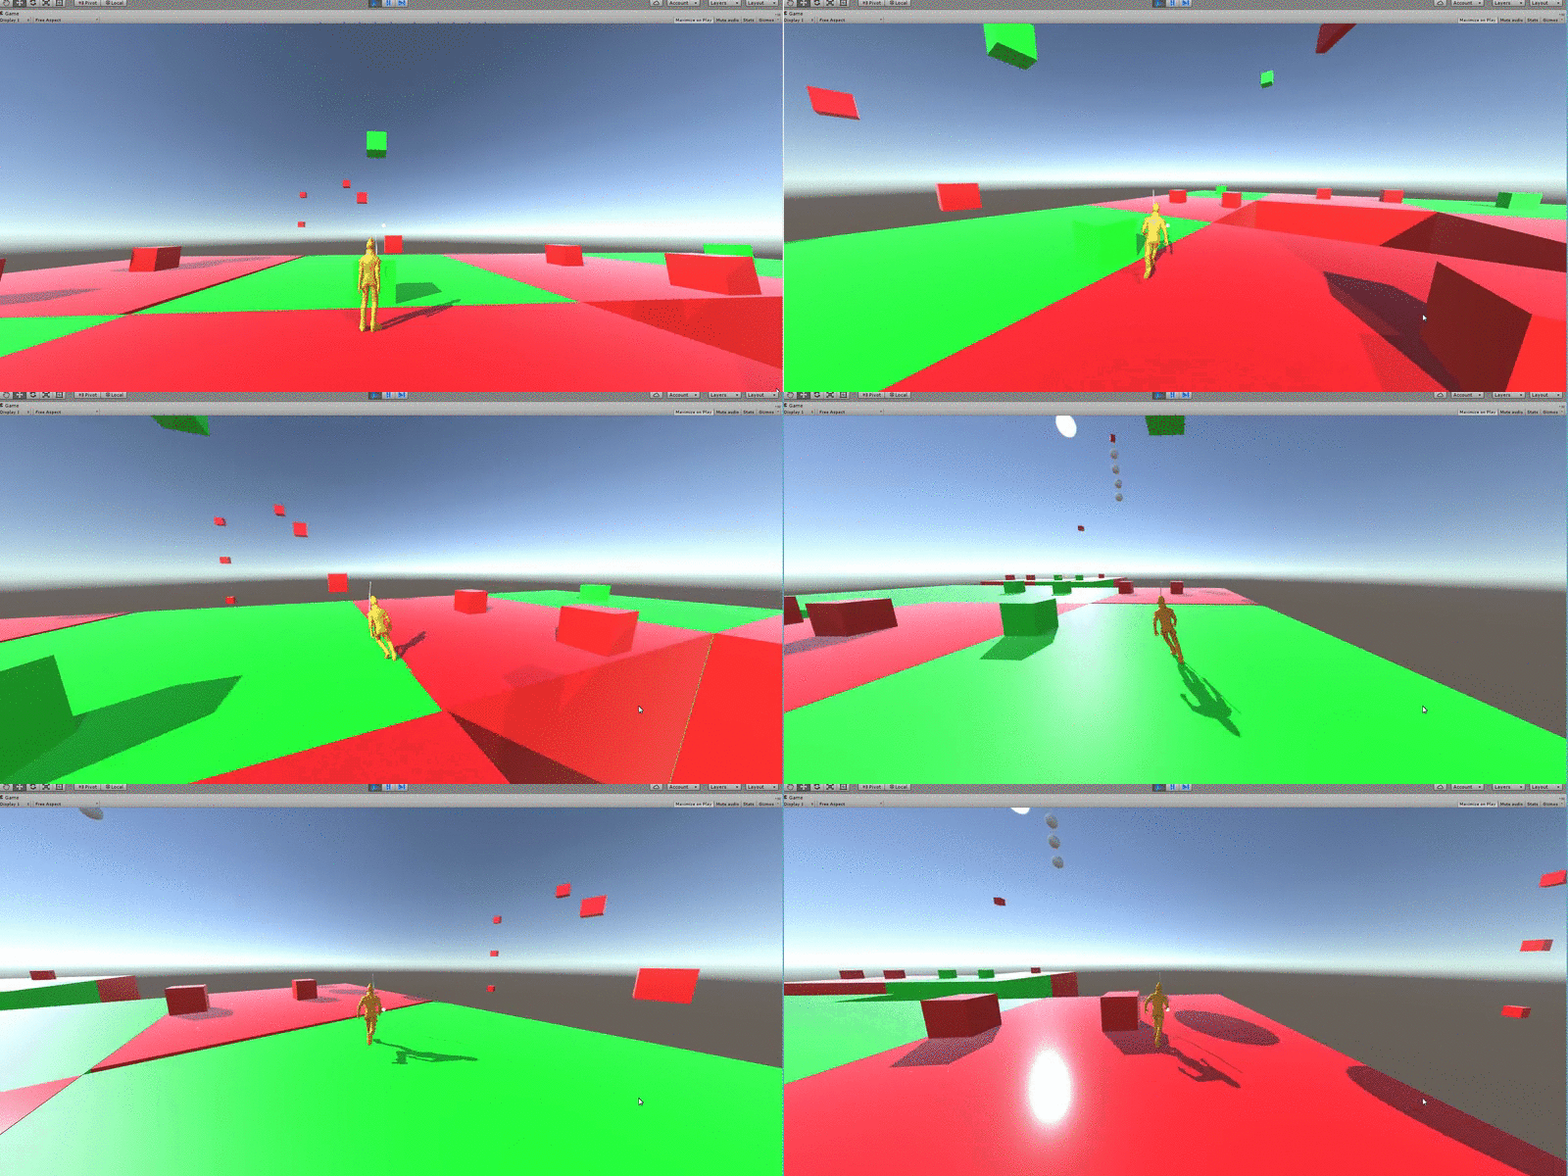
The first one was a standard third person camera that follows the player and rotates with her as she moves while staying at a certain distance. For this I chose to use a pivot that the camera rotates and moves around and with a pivot that is bound to the player.

Example of the standard camera


The second camera behavior we needed was a camera that would flick back to the player if the player starts moving, it has to smoothly move behind the player. By using a timer and a smoothing function the camera smooths to the wanted angle over time.

Auto Follow Camera


The final camera mode I worked on was the bows aim camera. When the player wants to fire and arrow the camera zooms in behind the players shoulder at a specified point to help the player shoot

Aiming Camera

Team 12 report 4 – Angular object placement

Hello everybody! This week has been quite rough and the task I was presented with was a real challenge. This week I tackled object placement in our 2D sidescroller. The objects in our game should be placed dynamically to fit into the levels we create. The levels will not only be on a horizontal axis, they will angle down and up to create a better gameplay experience. This was a very challenging task and down below I will describe what I have made, how I made it and why I made it.

Why our game needed a dynamic object placement: The game will as above stated feature angled backgrounds and segments that will go up and down. To get all of the objects placed in a good fashion without ”hardcoding” their placement a system will be needed to find out where the objects should be placed within the level.

So what is this that I have made? I made this system that reads the backgrounds orientation, placement and angle in order to place out the objects and obstacles in our game in the right X and Y coordinates.

Here is the interesting part and where most of the blogs content will be. How I made the system and how it works on a more technical level. I will try to describe it as down to earth as I can but it is not a simple system and to be honest I don not understand it myself 100%, I just know in theory how it works.

The backgrounds are the key to this system. Marwan Al Salman in my group made the background change their position and angel using the law of cosinus. This made it so that the backgrounds where placed ontop of each other while overlapping to create a fluent level.

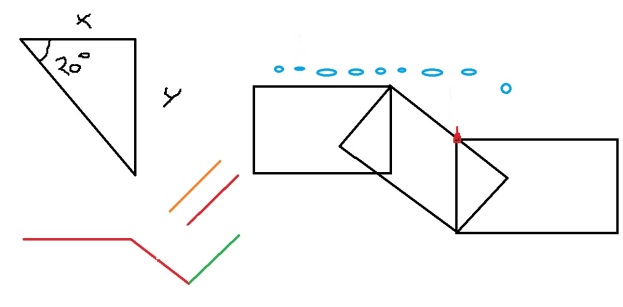
The system I made was an extension to his system and builds ontop of his code. What it does is that it has functions that gets the backgrounds angels from the backgrounds while also taking the top left position of the background. When the functions have taken these variables I place out the objects on the top left corner of the backgrounds, after that I get the angel from the background and use it in a function which uses the law of cosinus to calculate how much the X and Y values of the objects are going to change. In practice this creates a line where all of the objects spawn. Featured image

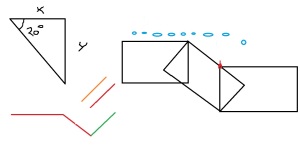
If my explanation of the object placement system was unclear I hope this awsome paint picture can do some talking and give a visual representation of how it works.

Team 12 Report 3 – Including animations and implementing it into our engine.

Hello! This week I will go through what I have been working on for this week. This week my task was to implement an old Animation skeleton from the SDL library to our new engine that is SFML based. This task proved itself to be a very hard challenge, my initial prediction of the time it would take was around 20 hours but that was a way to positive and naive prediction.

What I have made: I have converted the old SDL Animation skeleton to our new SFML based engine. This is so that we will have an easy to use way to implement animations and it will give us a great deal of flexibility and control over the animations. With this new skeleton we would only have to write a minimal amount of code to be able to use animations and it would mostly be filed based.

Why I chose to pick the animation implementation: I chose to start working on the animation skeleton since I wanted to challenge myself and see how much I could to in c++ and SFML. The reasons are more personal than optimal since I am not the best programmer in my group. Another reason I wanted to work on the animation skeleton was because I have worked a lot of programming game mechanics but not as much on the engine based things inside of our game. This lead me to be a bit afraid of falling behind on the more technical aspects of programming and I wanted this as a learning challenge.

How I made and implemented the animation skeleton: In order for me to explain how I made the animation skeleton I will need to explain the very basic foundation of how it works.
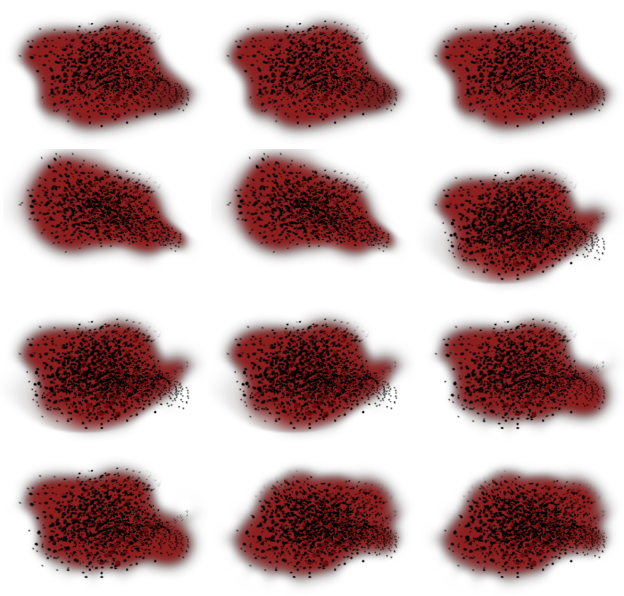
An animation works by taking multiple pictures and playing them one after another in rapid succession. To do this you need to do a couple of things. The first thing you need to to is to load a sprite sheet into the program, a sprite sheet is a picture with multiple sprites in it. for example a walking animation can contain 5 pictures and a sprite sheet with all of them in it would be a walking animation sprite sheet. The second thing you need to do is assign which parts of the sheet should be what picture, you need to put them in order so that they are played one by one after another. In order to play them one after another you need a timer that keeps track of which  picture you are on

.Featured imagepicture of a sprite sheet.

All of these things that were needed were inside of the old SDL engine and my main task was to convert SDL based functions into SFML based functions that would work in our new engine.

A lot more could be said about this topic but I feel like that would go way to deep into the programming lingo. Overall this was a very difficult challenge for me and as for the time when im writing this the animation skeleton is about 80% done.
Thanks for reading!

Team 12 Game Development Report 2 – Sonar projectile

In this weeks development report I will go through the creation of the sonar beam artifact, its purposes in the game and how I made it in c++ with visual studio.

What the sonar beam is: The sonar beam is teams 12 games only projectile. It is a projectile which will travel from the player through out the screen, clearing and destroying all of the enemies present on the current screen. The sonar wave will be what is called a ”smart bomb”, a screen clearer. It will act like a power up in the sense that it is available at all times.

Why I made the sonar beam: In order to finish the design course and pass the assignment each game was required to have a projectile in the game. At first we did not have a projectile in our game and we had some troubles deciding on how we would implement the projectile. We ended up with the sonar beam because of these reasons:

1. The game play will be quick and action packed and the player will be put into hard situations, having a screen clearing bomb will help players get some breathing room.

2. We discussed having a normal projectile that would be able to kill some enemies and destroy some obstacles but after some discussion we came to the conclusion that the player might have a hard time navigating the environment and shoot and tackle obstacles with precision at the same time.

3. The last and final reason would be that we wanted simple and easy controls and adding a fire button that the player would constantly use would be distracting.

How I made the sonar beam: I made the sonar beam using timers and distance measuring. The sonar beam will get the position of the player and when the player is pressing the fire key a sonar beam will be created. The sonar beam will grow in size as it travels away from the player by increasing the scale of the sprite.
The second the wave starts traveling a clock starts ticking inside of the sonar beam. The beam will grow in size and be visible until the clock has reached 3 seconds. After 3 seconds it will be invisible and another timer will start. This timer is the cool down timer that makes it so that the player will not be able to shoot multiple waves in a short time frame. The sonar beam attack will be used as a power up and therefore it should not be something that you can use all the time.
When the sonar beam collidies with obstacles and enemies they will be destroyed.

This is one of the main features I made this week.
blogg2

My first game.

Hello everybody! I dusted of my old game maker skills and this is the result of about 25 hours of work.

This is not a finished product at all and its more about showing a space shooting concept, in the future I might add more levels and polish and remove some buggs. This might not be happening since I will be learning C++ in my studies and I will probably look back at this game with disgrace.
Anyways, I hope you enjoy it!

Big Thanks to

Danielle Uneus for all of the enemy sprites.
Gabriel Eji Ajuwa for some help with the coding
Also a big thanks to 3kliksphilip for having his music avalibe for public use. http://www.3kliksphilip.com/
Download link for the game http://www.filedropper.com/spaceshooteringamemaker

Arrows to move, X to shoot!

Screenshot of the game

Screenshot of the game